How to Make Dried Fruits in the Oven
It can be hard to find the fruit you’re craving if it’s not in season. Enter - dried fruits!
Feb 20, 2024
There’s nothing better than a fresh fruit at its peak ripeness. Unfortunately, it can be hard to find the fruit you’re craving if it’s not in season. Enter - dried fruits! Dried fruits are an amazing source of nutrients and their natural sugars make them a healthier alternative to cookies and candy. Best of all, you can dry your favorite in-season fruits now, and store them for up to one year! If you’re looking to enter the world of dried fruits, here’s where to start.
Finding Your Fruit
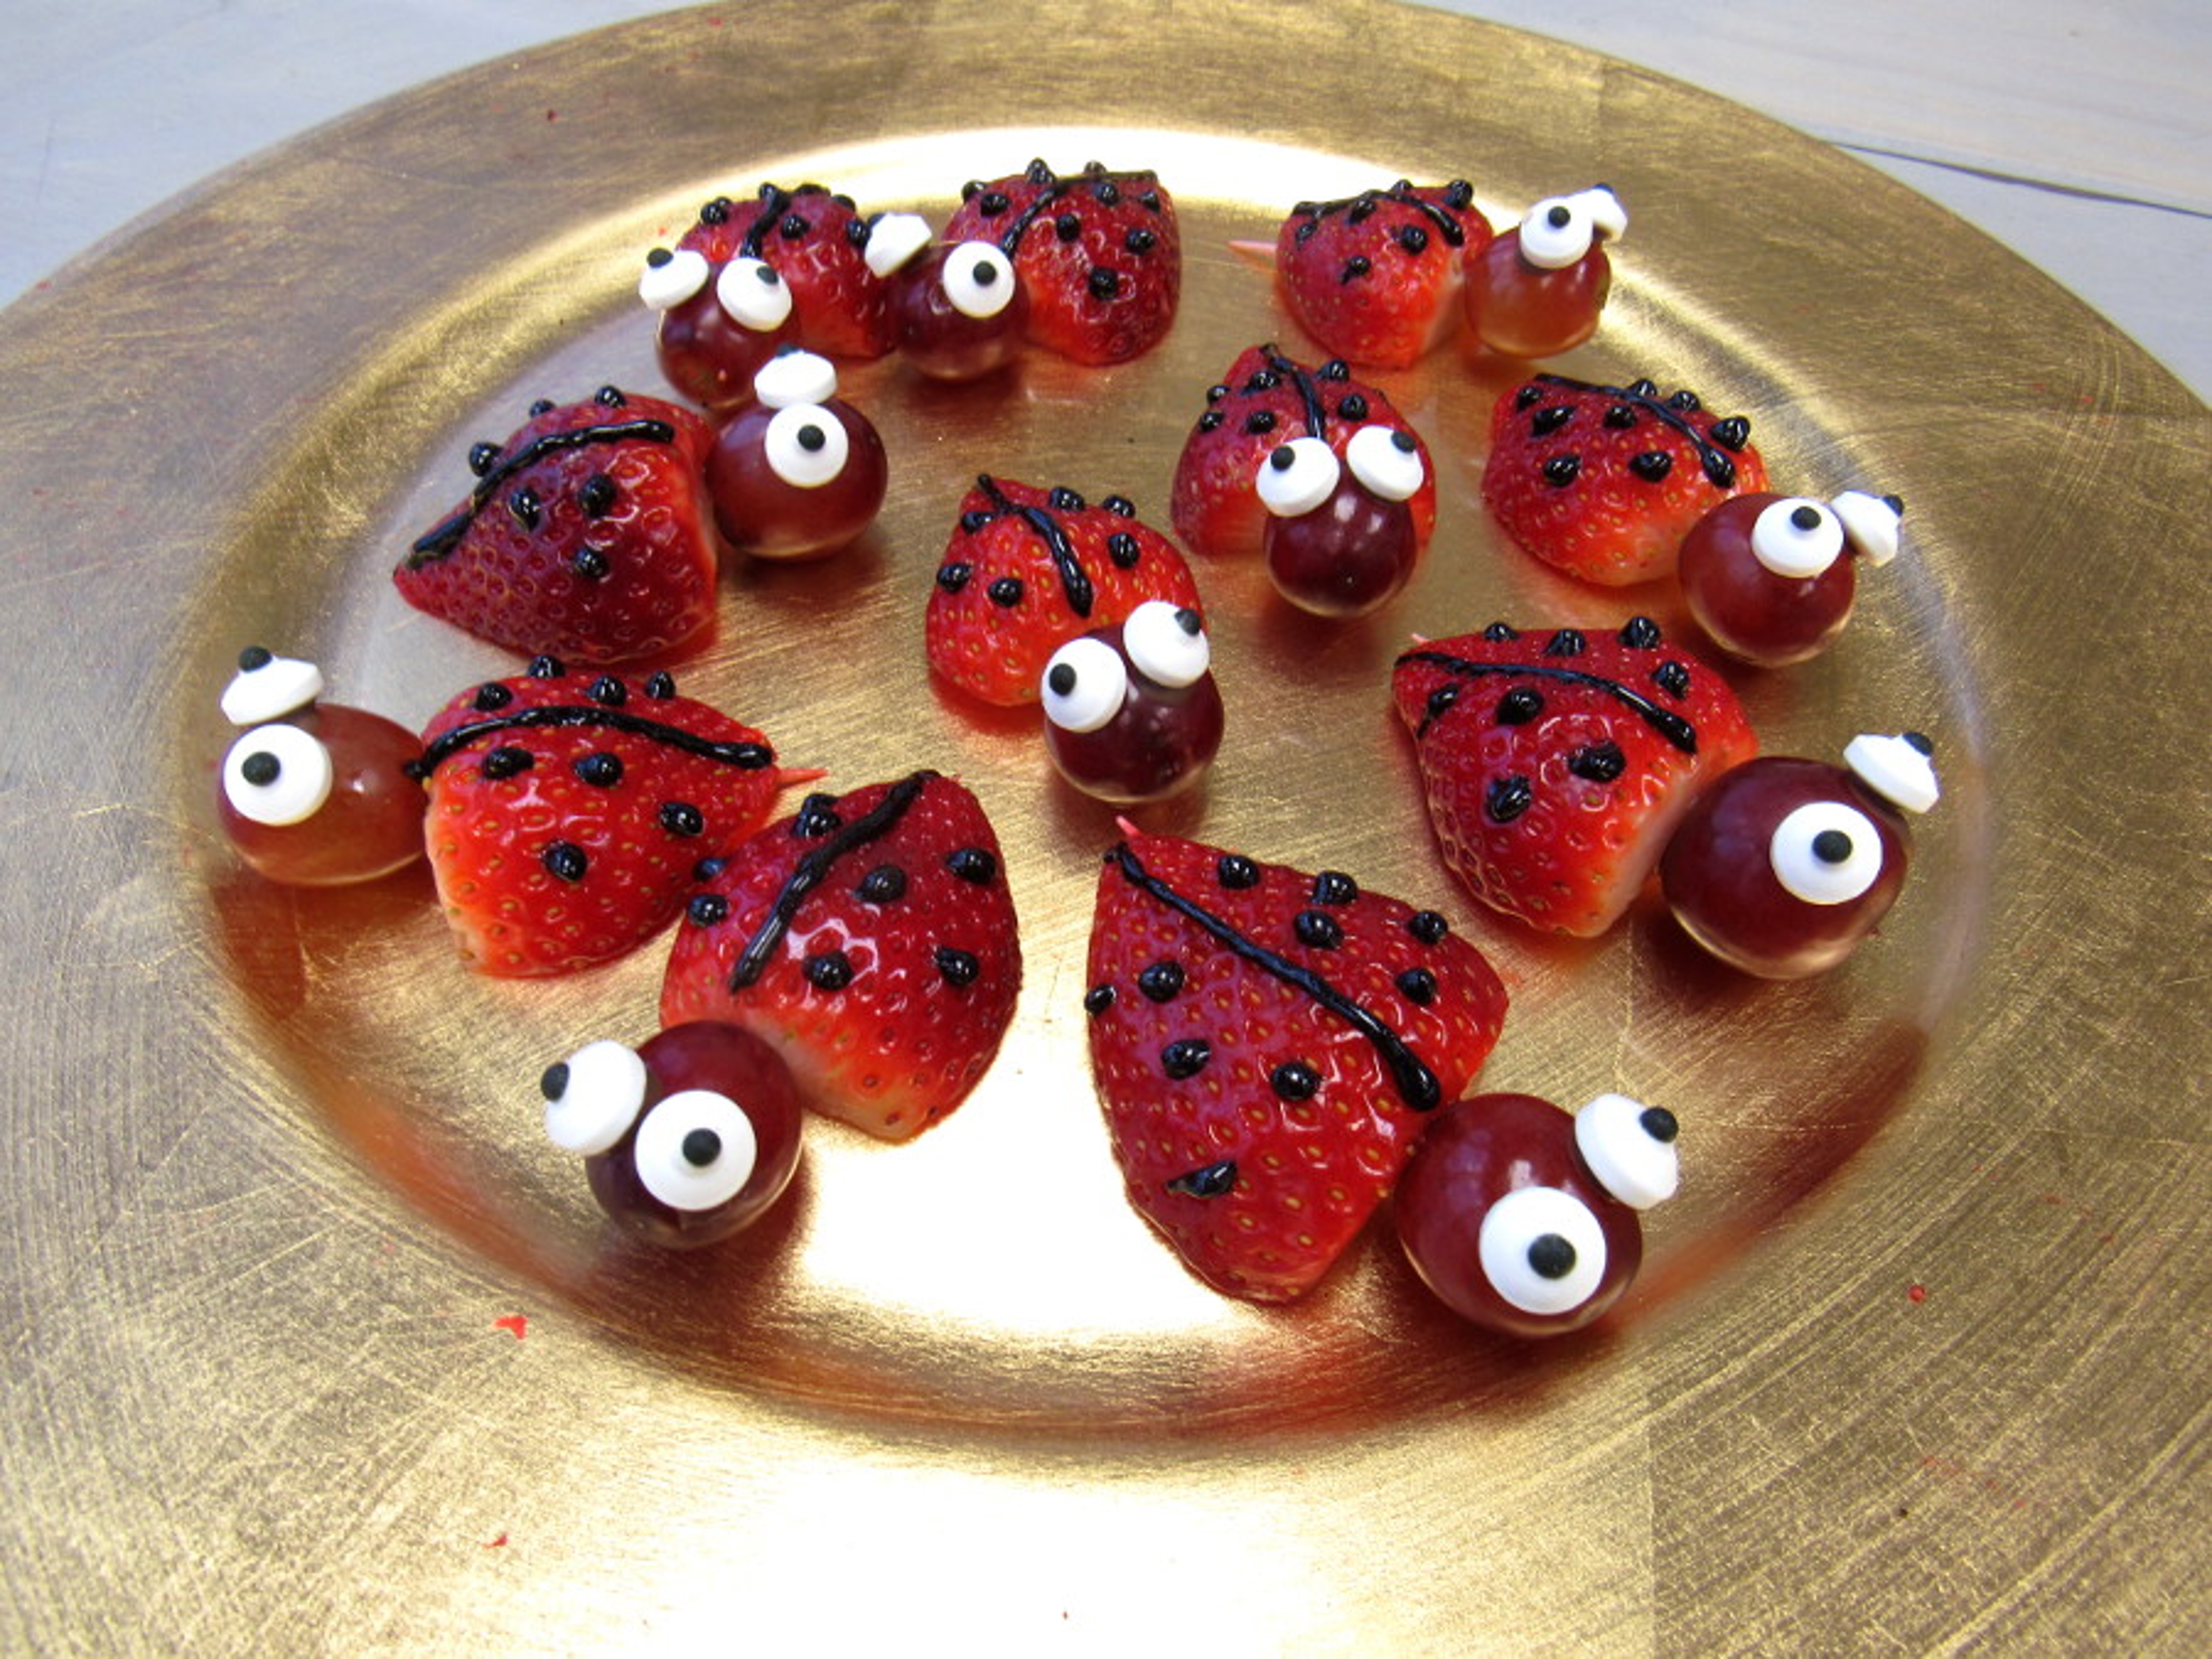
Not all fruits will dry as well as others. If it’s your first time making dried fruits, stick to the easiest ones - like vine fruits (grapes and kiwifruit) and tree fruits (mangoes, bananas, apples, figs, dates and pears). You also want to look for the fruit that’s in season right now. As we head into spring, you’re likely to find the freshest bananas, pineapples and strawberries at your local market.
Now that you know what fruits to be on the lookout for, you need to know how to find the best of each one. Buying fruit to dry is not the same as buying fruit to eat raw later that day. You’ll get the best results with fruit that is more mature, ripe and firm because this means the sugars have had enough time to fully develop.
Prep Work
Step 1: Wash your fruit in cold water and scrub it gently to get rid of any dirt or debris.
Step 2: Remove any blemishes, pits or stones.
Step 3: Remove the stems.
Step 4: Slice large tree fruits thin and evenly so that they dry at the same rate. You can leave smaller fruits, like berries and grapes, whole.
Step 5: Soak your fruits in a mixture of lemon juice and water for 10 minutes. This will minimize discoloration and keep them looking good enough to eat!
Into the Oven
Sure you could buy an expensive dehydrator or go really old-school with a drying cabinet, but all you really need for perfectly dried fruit is an oven.
Step 1: Preheat the oven to anywhere between 130 - 170 degrees Fahrenheit. For the best results, dry your fruit in different temperatures, based on how thick they are. Thinly sliced fruits dry best at the lower temperatures, while whole berries need the temperature to be a bit higher.
Step 2: Arrange your fruit slices in a single layer on parchment paper. Placing parchment paper over your baking sheet is important because it will keep your fruit from shriveling up once it starts to dry. You should also make sure that none of the pieces are touching - so while it may be tempting, don’t try to squeeze those last few pieces on.
Step 3: Put your fruit into the oven and rotate the pan every two hours.
How do I Know When It’s Ready?
Your fruit will be ready when it starts to resemble the texture of leather but is still malleable. If you’re still unsure, follow our handy table below, which outlines the general cooking times for all of our favorite fruits.
- Plumbs, Pears, Bananas, Peaches and Apples require 6 hours of drying time.
- Grapes require 8-10 hours of drying time.
- Strawberries and Apricots require 12 hours of drying time.
Let it Sit
Once your fruit is ready, remove it from the oven and let it sit (also known as cure) for a few days in a glass or plastic container. Leave the container open so that any moisture that is still in the fruit evaporates.
Enjoy!
After a few days, your fruit is ready to be eaten or you can save it for later. The best part about dried fruit is that you can enjoy it for as long as a year after it’s made. Whether you decide to throw a few pieces into your morning yogurt as an extra boost of nutrients or eat them as a snack at your desk, you’ll love knowing that you made them entirely on your own, and at less than half the cost of buying them!
AUTHOR

Tara Carlson graduated from Hofstra University with a degree in Public Relations and loves any and all things creative writing - which is why she is thrilled to be working with Berry Chatty. When she's not writing, you can probably find her swimming at the beach, catching up on the latest movies (she's a big fan of award season!) and playing soccer.