

How To Make Ice Cream Cone Fruit Cups
Jul 26, 2017
This healthy twist on ice-cream will satisfy your sweet tooth and keep you cool all summer long! These mini melon cake cups are not only fun to eat but easy to make!
Baking: 12-15 mins Decorating: 10 minutes Yields: 12 Cones
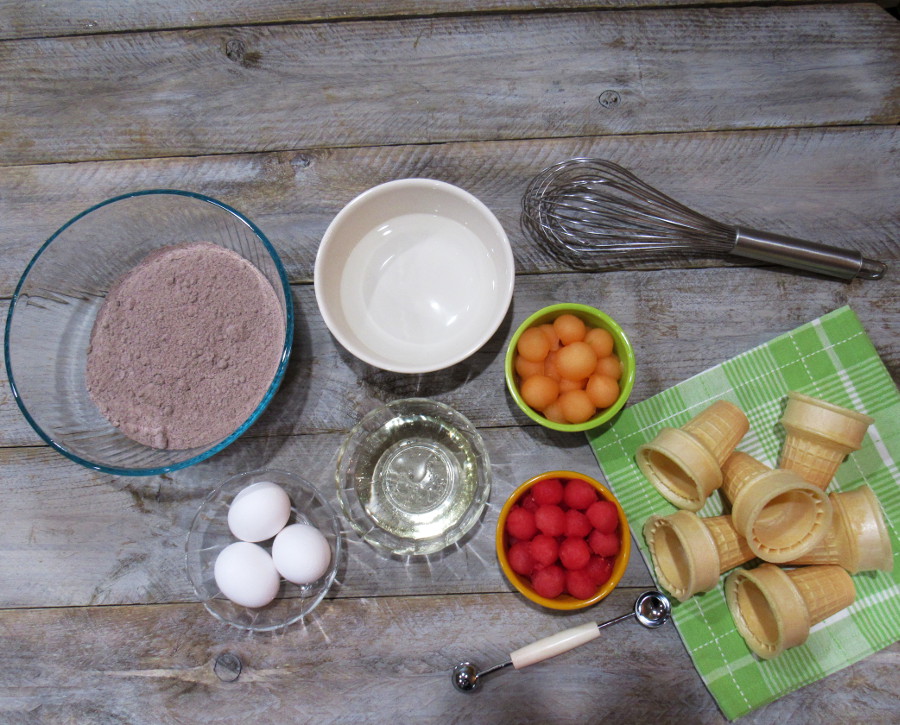
Ingredients:
For the cake-
Cake mix (flavor of your choice!) - Follow the ingredients as listed on the box.
For the topping-
- ½ cantaloupe
- ½ watermelon
- Whipped cream
- Large ice cream cones (pack of 12)
Supplies:
- Whisk
- Baking sheet
- Large bowl
- Melon baller
Directions:
- Start by mixing the cake batter per the directions on the box.
- Line the baking sheet with the ice cream cones and fill each ½ full with batter. Bake in the oven at 350 degrees for about 10-12 minutes.
- While the cake cups are baking, it is time to prep your fruit! Using your melon baller, start with your watermelon and cut as many freshly cut melon balls as you can. Put the balls into a bowl and keep chilled.
- Repeat with the cantaloupe and any other fruit you’d like to use. Try to have roughly the same amount of melon balls of each type.
- Once the cups are done baking and cooled, line the rim of the cone with whipped cream.
6. Top it off with a few pieces of fruit on each ice cream cone. Continue to layer the whipped cream with the melon balls to mimic the appearance of an ice cream cone. Make sure to have fun with it and decorate as you’d like!
Serve this as a refreshing treat by the pool or as a dessert at your next summer BBQ!
AUTHOR